
Shopware - v3
Installation
- Download the Latest Version
- Download the latest version of the Master FFL Checkout plugin.
- Upload to Shopware
- Upload the plugin folder to your Shopware site under:
- /custom/plugins/
- Activate the Plugin
- Log in to your Shopware admin dashboard.
- Navigate to Extensions → My Extensions and enable the toggle to Activate the Master FFL Checkout plugin.
- Configure the Plugin
- Go to: Extensions → My Extensions → Master FFL Checkout → Configure to configure the plugin settings according to your needs.
Admin Configuration
Environment Setting
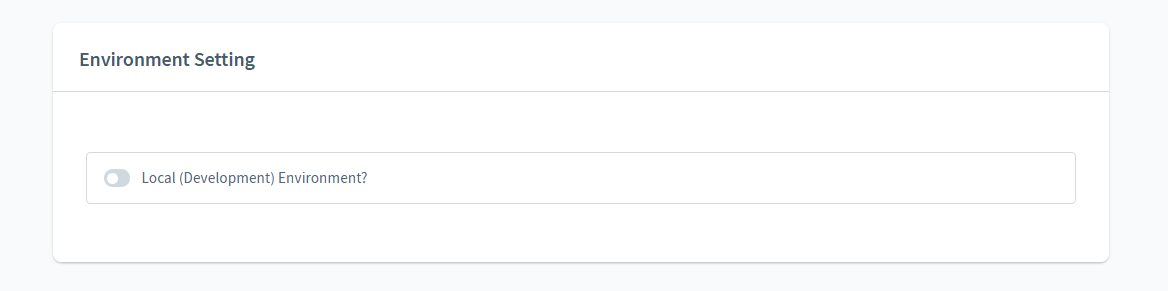
Local (Development) Environment? : Select whether the current environment is a local development setup.
- Yes – If you’re working in a local or staging environment.
- No – For live production websites.
FFL Mapping
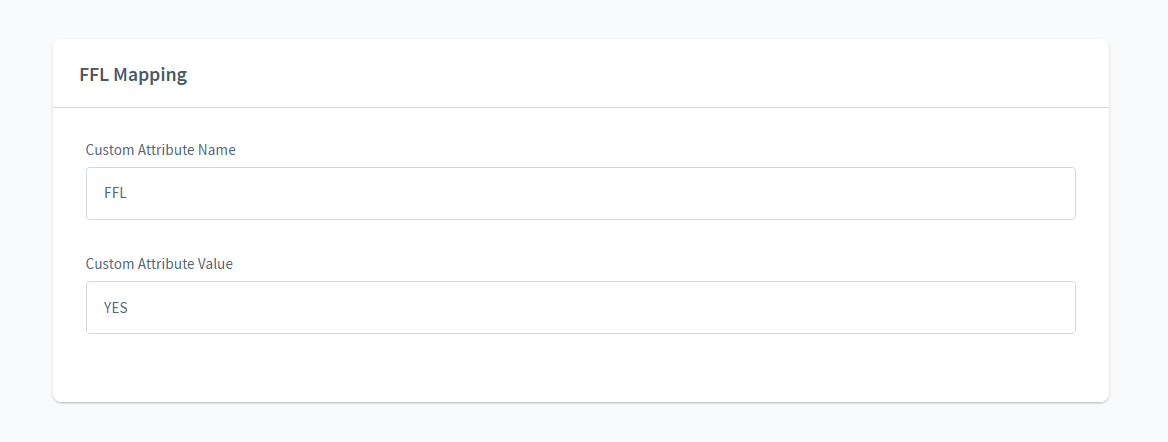
- Custom Attribute Name: Enter the product custom attribute that determines if an item is FFL or not (e.g.,
FFL). - Custom Attribute Value: Enter the attribute value used to identify FFL items (e.g.,
YES).
FFL Firearm Type Mapping

- Custom Attribute Name: Enter the custom attribute name used to classify firearm types (e.g.,
FFL_FIREARM_TYPE).
FFL Firearm Type Values Mapping
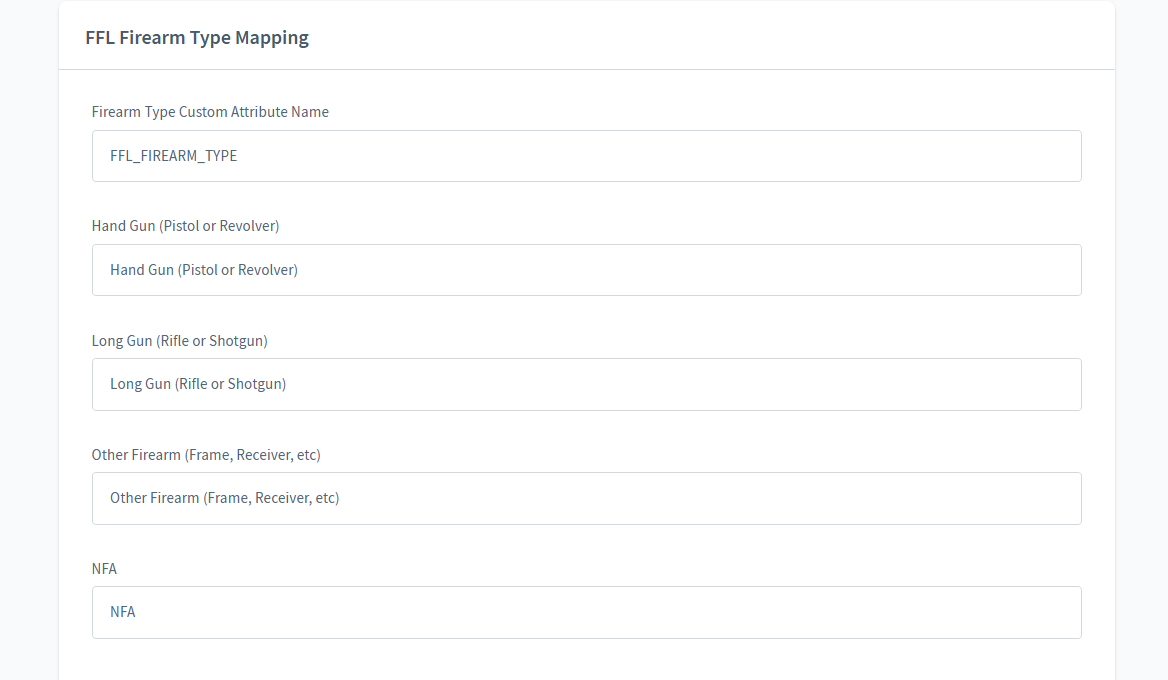
Map the custom attribute values to human-readable labels. These are typically synced with external systems like FFL360:
- Hand Gun (Pistol or Revolver)
- Long Gun (Rifle or Shotgun)
- Other Firearm (Frame, Receiver, etc.)
- NFA
Category Mapping
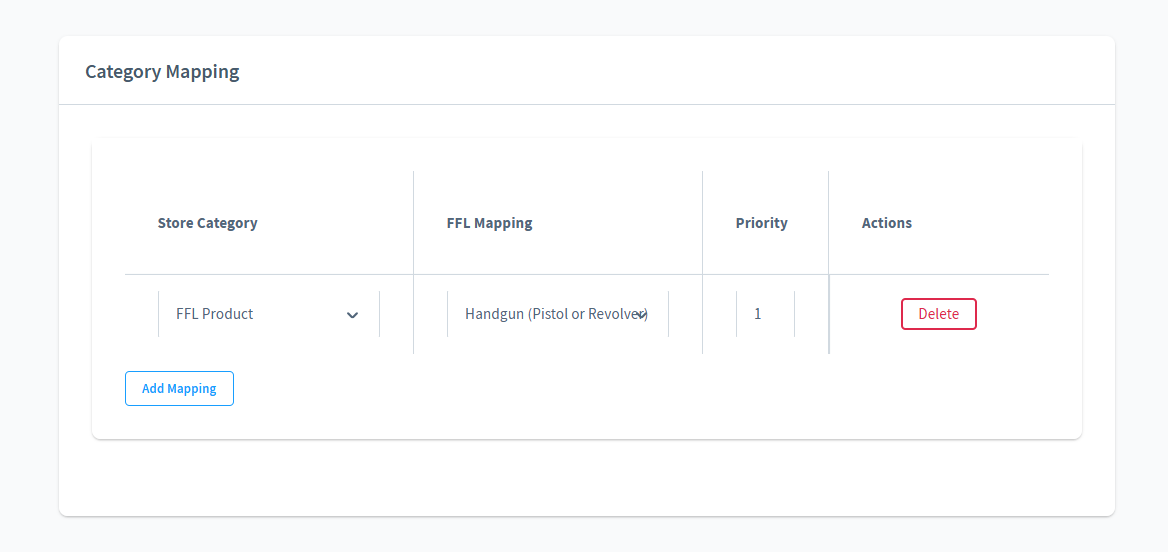
You can apply the custom attributes for each individual product or you can set them at a category level.
Any product in the category will inherit the FFL settings set for the category.
Note: If a product has attributes set, those override the category-level settings.
Order Status Mapping
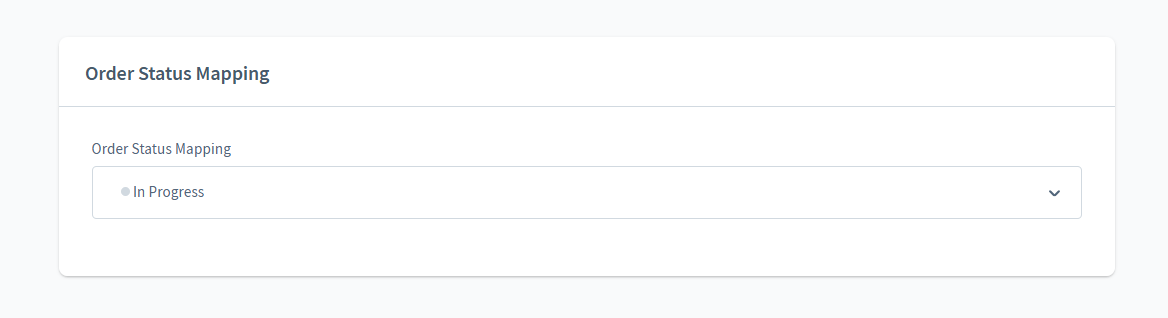
Choose the Shopware order status that should be mapped for FFL360 order syncing (e.g., In Progress).
Header And Button Color Configuration
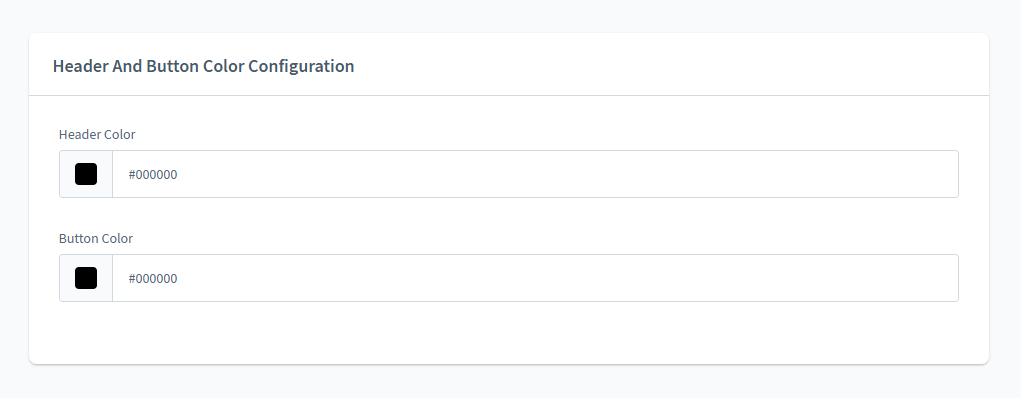
This section allows you to customize the appearance of the FFL Dealer selection UI.
- Header Color: Applied to the header/title section of the FFL selection modal or UI block.
- Button Color: Applied to the Select buttons within the FFL UI.
FFL Checkout UI Text
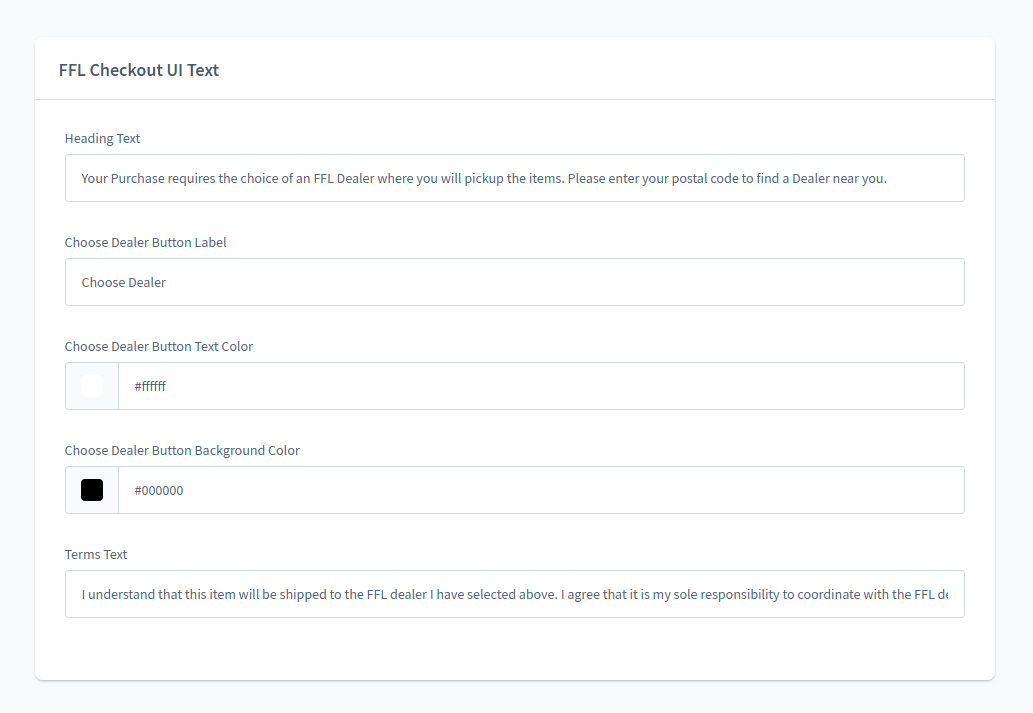
FFL Checkout UI Text Configuration allows you to customize the text and button styles displayed during the firearm checkout process, ensuring a seamless customer experience.
- Heading Text: Message displayed at the top of the FFL selection section to guide users through selecting a dealer.
- Choose Dealer Button Label: The text shown on the button customers click to select their FFL dealer.
- Choose Dealer Button Text Color: Sets the color of the text inside the "Choose Dealer" button for better visibility or branding.
- Choose Dealer Button Background Color: Defines the background color of the "Choose Dealer" button to match store design.
- Terms Text: Legal or informational message confirming the customer’s understanding and responsibility regarding FFL shipment and coordination.
FFL Checkout Configuration
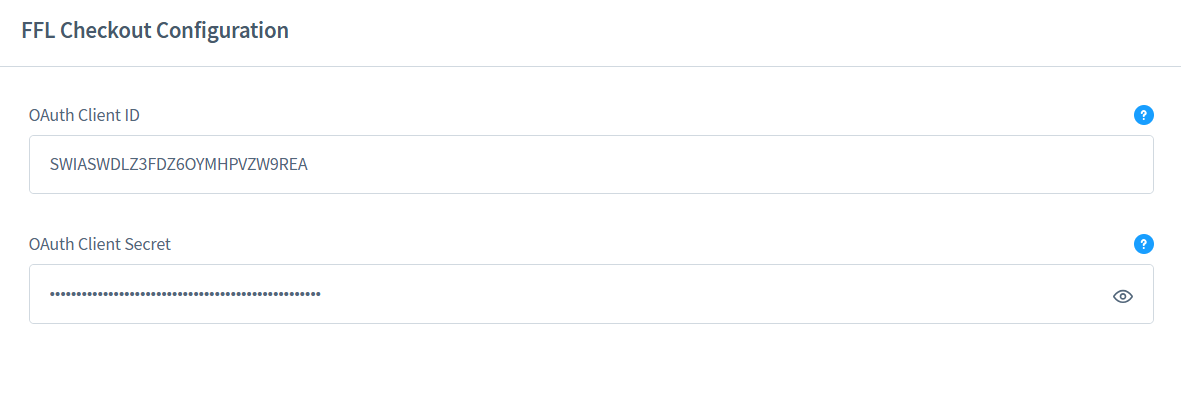
To configure this module, you will need a Client ID and Client Secret from Shopware.
Follow the steps below to generate these keys:
-
Log in to Shopware Admin
- Open your Shopware Admin panel in a browser.
-
Access Integrations
- In the left sidebar, navigate to:
Settings → System → Integrations.
- In the left sidebar, navigate to:
-
Create a New Integration
- Click the “Add integration” button.
- Enter a descriptive name for your integration (e.g., My App Integration).
-
Save the Integration
- Click Save to generate the integration.
- After saving, Shopware will display the Client ID and Client Secret.
- Important: Copy these values immediately. The Client Secret is only shown once and cannot be retrieved later.
Frontend Checkout View
FFL Dealer UI on checkout
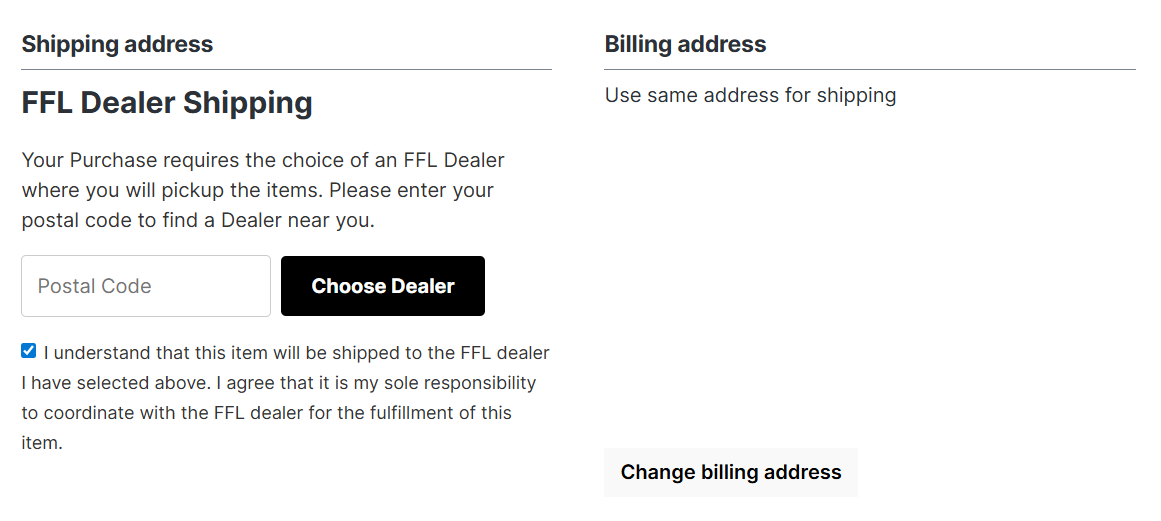
- During checkout, the customer will enter the postal code.
- A list of available FFL dealers will be displayed for selection.
FFL Dealer Selection UI
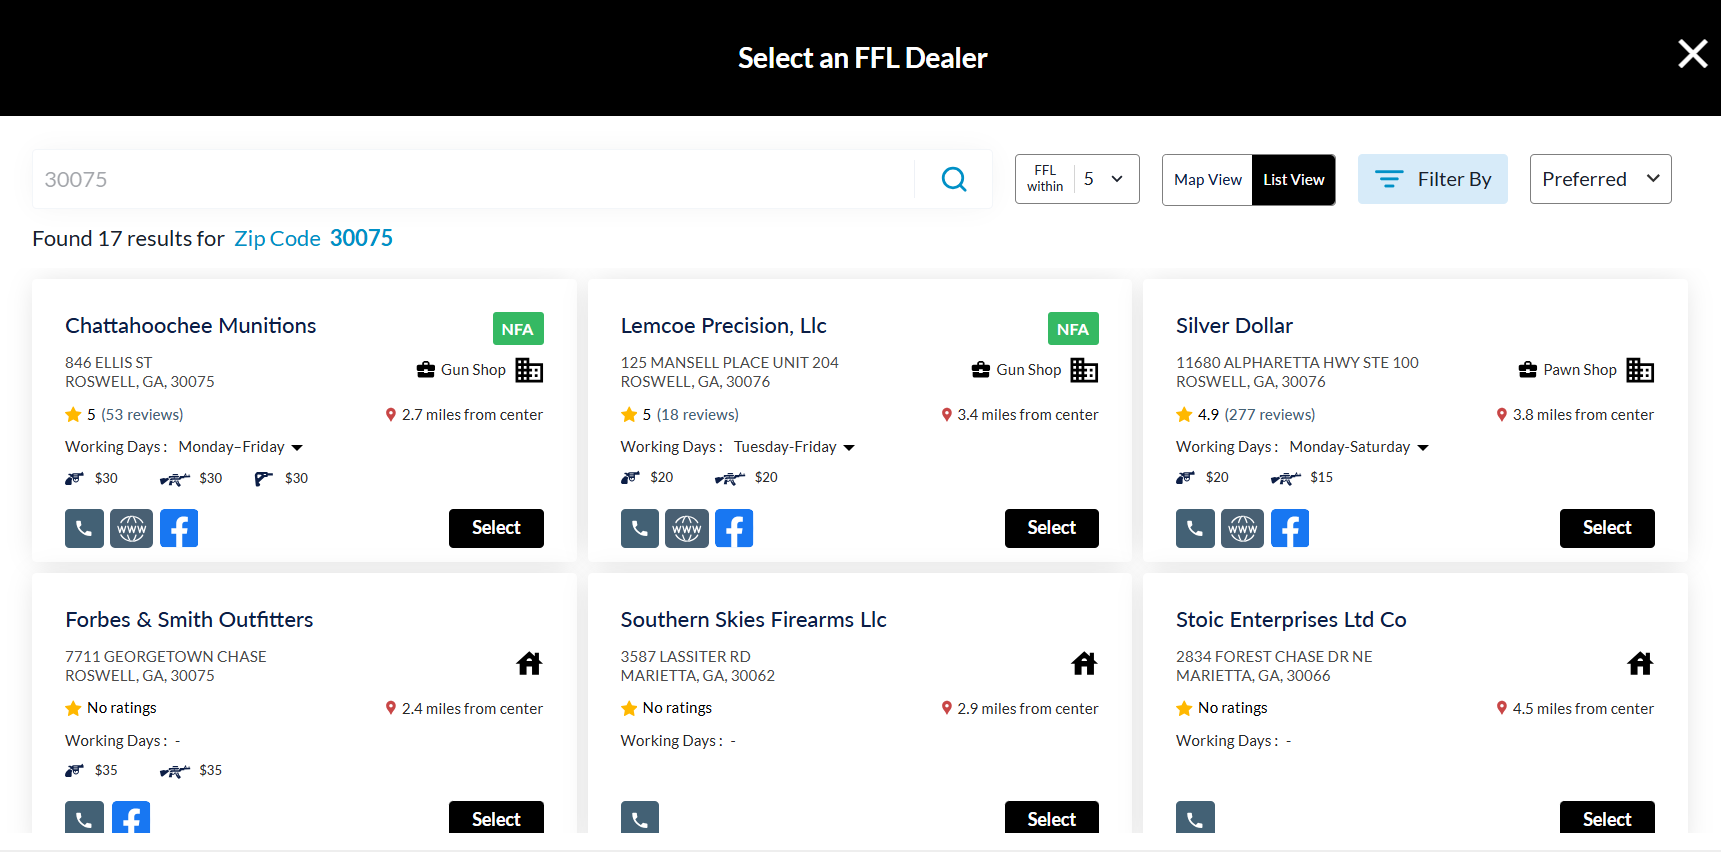
- Customers can choose the dealer near them and proceed to checkout.
Selected Dealer information
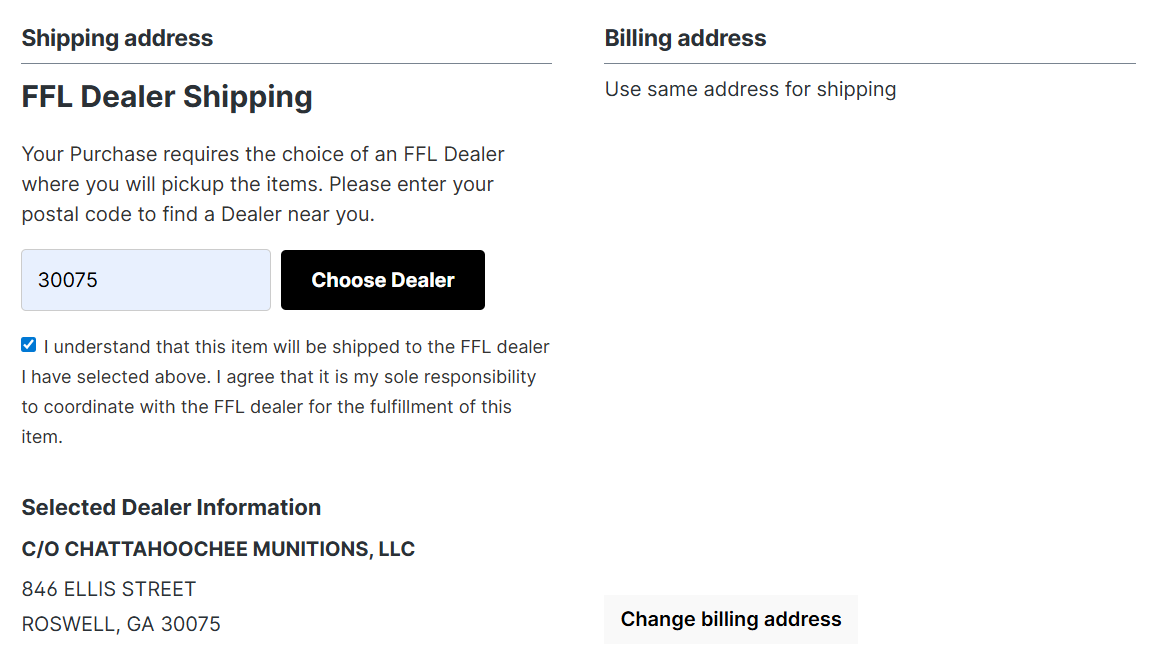
- Once selected, the dealer’s information will automatically appear on the checkout page.
FFL Master Proof in Order view
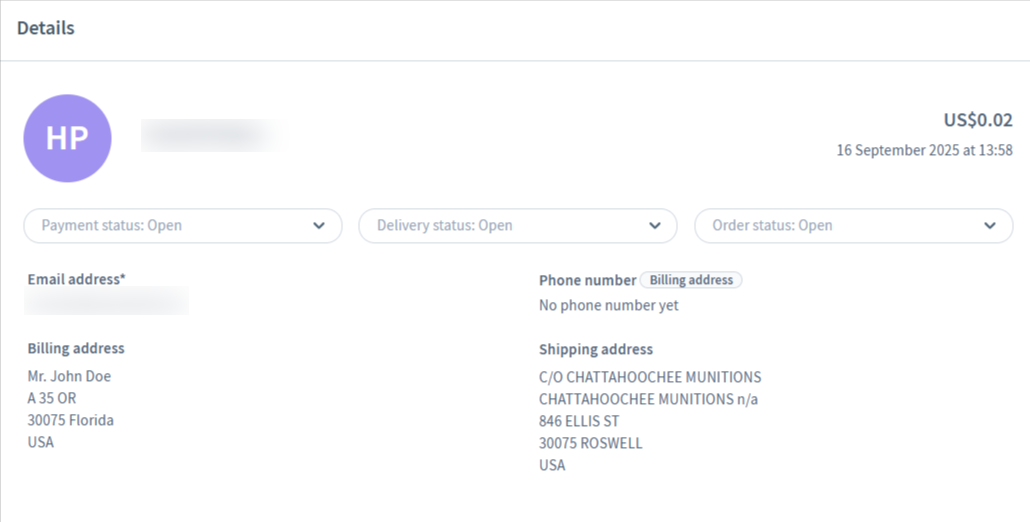
- Once a customer selects an FFL dealer during checkout, the dealer’s details are saved with the order. As an administrator, you can easily view this information in the Order Details page inside the admin panel.
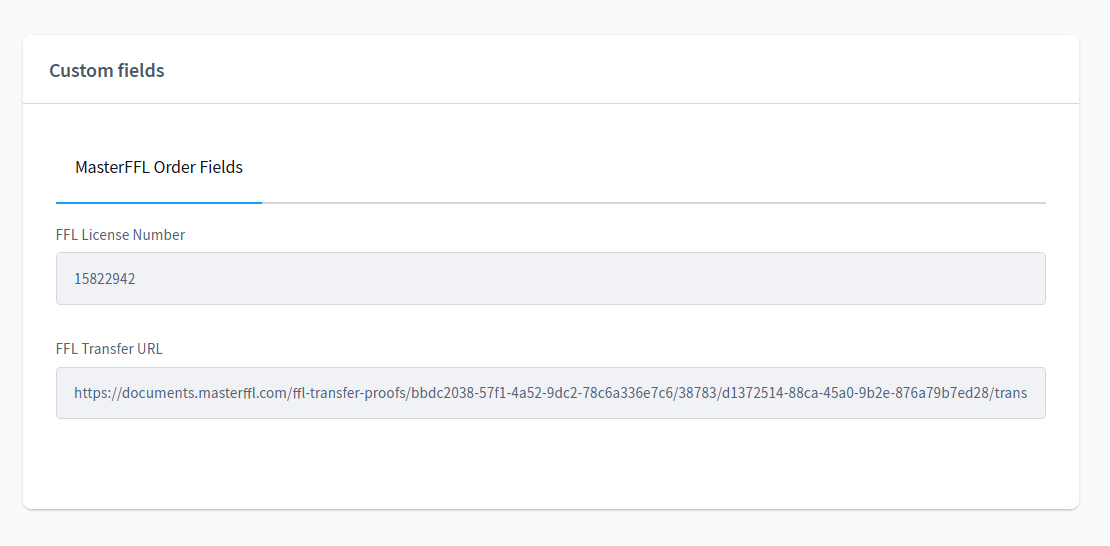
- From the order view, administrators can download the Transfer Proof document directly using the provided link.
FFL Master Proof
When a customer places an order, the following API is triggered to update the shipping address, FFL License Number, and Transfer Proof URL based on the selected dealer's information.
- Endpoint URL:
{Base URL}/wp-json/wp/v2/add-ffl-url - Method:
POST
Request Payload Example
{
    "statusHistory": {
        "comment": "https://documents-qa.masterffl.com/ffl-transfer-proofs/0c92395e-935c-4f0c-93c1-d1b60c324329/19694/d8c86869-cabb-4335-8b6c-f2dc9ec595eb/transferProof_19694.pdf",
        "is_customer_notified": 1,
        "is_visible_on_front": 1
    },
    "dealerId": "5-84-123-01-6E-01521",
    "address": {
        "street": [
            "3763 IMPERIAL STREET UNIT A"
        ],
        "city": "FREDERICK",
        "region": "CO ",
        "postcode": "80516",
        "company": "ADAMSON POLICE PRODUCTS"
    }
}
Functionality
This API updates the order's:
- Shipping address with the selected FFL dealer's address.
- Transfer URL (FFL transfer document) stored in custom fields, viewable in admin order details.
- FFL License Number (as part of dealer data).
Dealer Reassign
If the dealer is changed after the order is placed, this same API is triggered again.
It updates the order with the new dealer's:
- Shipping Address
- Transfer URL
- FFL License Number
This ensures the order details always reflect the latest selected dealer.
Support Required
For assistance, contact our dedicated support team:
- Email: [email protected]
- Phone: (770) 765-1982
Updated 3 months ago